

By Core Brake Parts Tech Team — Circleville, OH warehouse
Short answer: Disc brakes clamp pads onto a vented or solid rotor for strong, fade-resistant stopping; drum brakes press shoes against a cast-iron drum. Many cars keep rear drums to cut cost and simplify the parking brake, while fronts run vented discs. This guide walks through the exact diagnostic steps, replacement thresholds, product comparisons, and cost breakdown so you can decide with confidence whether to DIY or take it to a shop.
Direct experience note: we ship these parts daily from our Circleville, OH warehouse to customers across the country. The picks in this guide reflect what fits, what lasts, and what our repeat-buyer mechanics come back for.
Need the part? Shop Drum Brake Parts at Core Brake Parts
Filter by your exact year, make, and model — every part ships from our Circleville, OH warehouse, free over $75.
Shop Drum Brake Parts →What to Know About Drum Brakes Vs Disc Brakes
Understanding drum brakes vs disc brakes matters because it directly affects stopping distance, brake pedal feel, and how often you replace consumables. Getting it right the first time saves both money and follow-up shop visits.
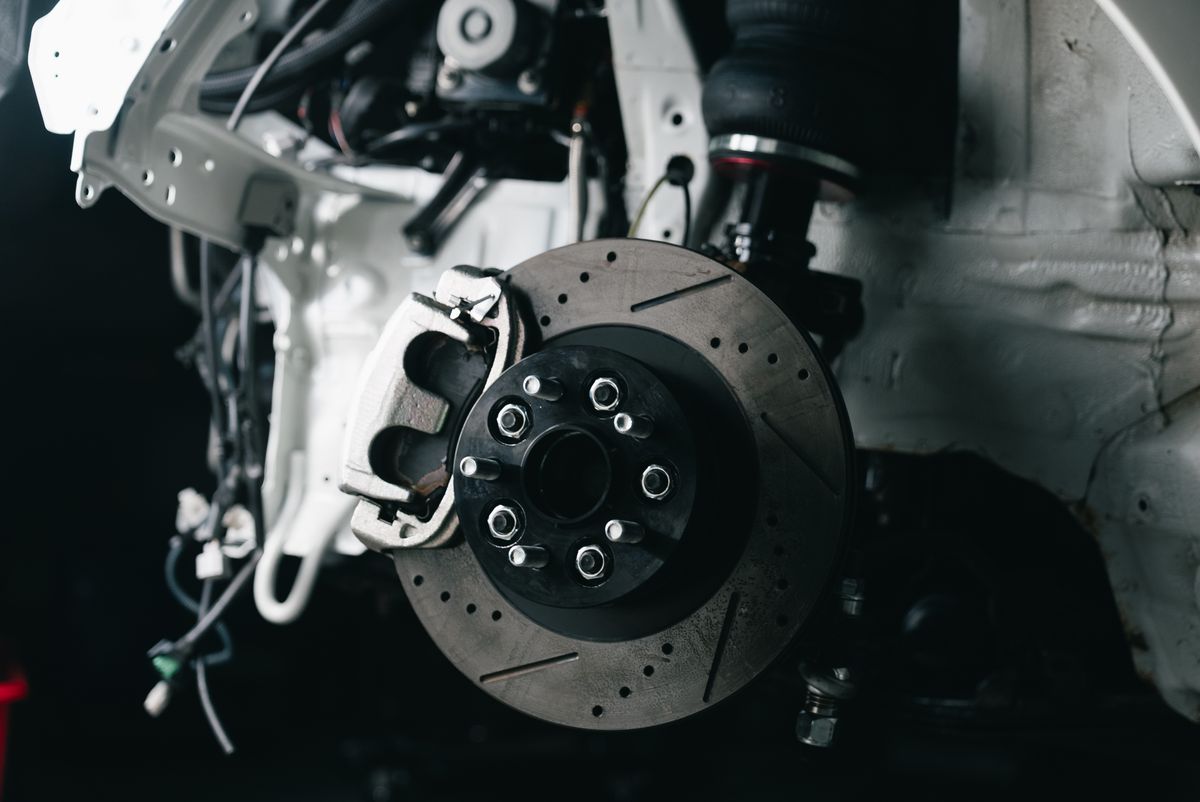
- Disc brakes use a caliper that squeezes pads against a spinning rotor to create stopping force.
- Drum brakes push curved friction shoes outward against the inside of a cast-iron drum.
- Front rotors are typically vented for cooling, while rear rotors are often solid on lighter vehicles.
- Automakers keep rear drums because they lower cost and neatly integrate the mechanical parking brake.
- Disc brakes shed water and dissipate heat far better, strongly resisting brake fade under repeated hard stops.
- Rear drum service uses a hardware kit and drum, while disc service centers on rotors and pads.
Spec Chart by Vehicle Class
| Vehicle class | Pad thickness | Rotor thickness |
|---|---|---|
| Friction component | Rotor squeezed by caliper pads | Shoes expanding inside a drum |
| Heat dissipation | Excellent, rotor open to air | Poor, drum traps heat inside |
| Water and debris handling | Self-cleans, sheds water fast | Retains moisture, dust, glazing |
| Rotor or drum type | Front vented, rear often solid | Cast-iron drum, no venting |
| Parking brake method | Caliper piston or drum-in-hat | Cable lever expands the shoes |
How to Diagnose or Replace
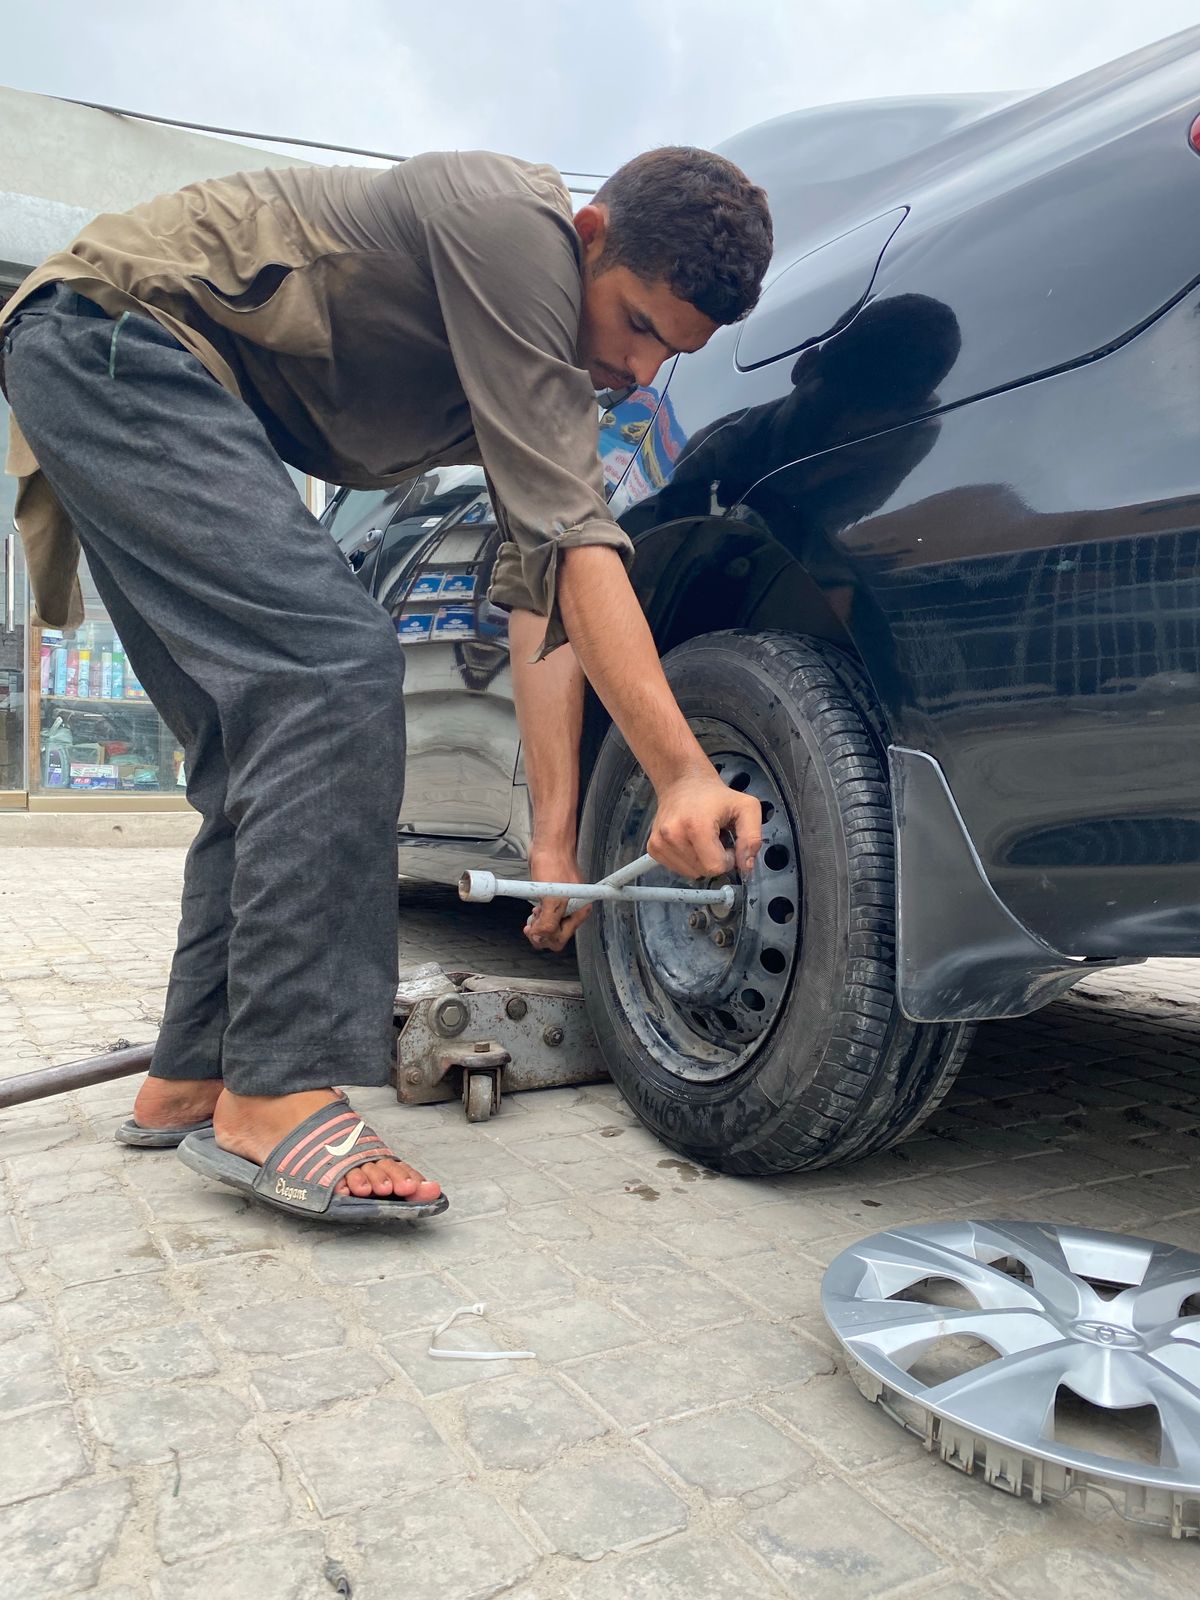
- Loosen the lug nuts, raise the vehicle safely on jack stands, then remove the wheel.
- For discs, unbolt the caliper, slide out the old pads, and inspect rotor thickness.
- Compare the rotor measurement to the stamped minimum thickness before reusing or replacing it.
- For drums, pull the drum, then release shoe tension using the star adjuster and springs.
- Replace drum shoes with a full hardware kit, since old return springs weaken with heat.
- Lubricate contact points, reassemble, and set drum shoe adjustment to a light, even drag.
- Reinstall the wheels, torque lug nuts to spec, and pump the pedal firm before driving.
Once diagnosis is complete, order the exact replacement parts for your vehicle - fitment matters. Related drum brakes vs disc brakes products are listed in the next section.
Recommended Parts and Where to Buy
Every product below is in stock at our Circleville, OH warehouse and ships same-day when ordered before 2 PM Eastern. Free shipping on orders over $75.
If your exact vehicle is not listed, use the site search or filter the full brake parts collection by year and make.
Cost Breakdown - DIY vs Shop
| Job | DIY parts only | Shop parts and labor |
|---|---|---|
| Front disc pads and rotors (pair) | $250-$500 | Typical parts plus labor at a shop |
| Rear drum shoes and hardware | $150-$350 | Includes drums, shoes, springs, labor |
| Rear disc pads and rotors (pair) | $300-$600 | Costs more than drums due to rotors, calipers |
| Brake fluid flush | $80-$150 | Recommended roughly every 2-3 years |
DIY savings scale with vehicle size and job complexity. A full-size truck brake job saves $450-700 in labor. For most passenger cars, plan on 90-120 minutes per axle for pads only, 2-3 hours for pads plus rotors.
Install Tips - Where Most DIYers Go Wrong
- Torque lug nuts to the factory spec in a star pattern to prevent rotor warp.
- Bed in new pads with several moderate stops so friction material transfers evenly.
- Keep grease off friction surfaces; lubricate only slides, backing plates, and adjusters.
Key Takeaways
- Disc brakes clamp pads onto a vented or solid rotor for strong, fade-resistant stopping; drum brakes press shoes against a cast-iron drum. Many cars keep rear drums to cut cost and simplify the parking brake, while fronts run vented discs.
- Measure friction material and rotor thickness at every tire rotation - catches wear before it becomes damage.
- Replace pads at 3 mm; below 2 mm is unsafe.
- Loaded calipers (with brackets, pads, and hoses) save 1-1.5 hours of labor per side over bare calipers.
- Bed new pads properly with 8-10 medium stops from 40 to 10 mph.
- Free shipping on orders over $75; same-day shipping on in-stock orders before 2 PM Eastern.
0 comments